Mastering MIDI Routing: Pro Tips for Using Auracle X
Welcome back to our deep dive series into the innovative Auracle X software by iConnectivity, the free control platform designed to simplify complex tasks like MIDI routing. In our previous articles, we’ve covered tips, tricks, and hidden features for getting started with this versatile software. Now, let’s focus on MIDI routing—a fundamental feature that allows users to connect and control their MIDI devices seamlessly.
A Beginner’s Guide to MIDI Routing
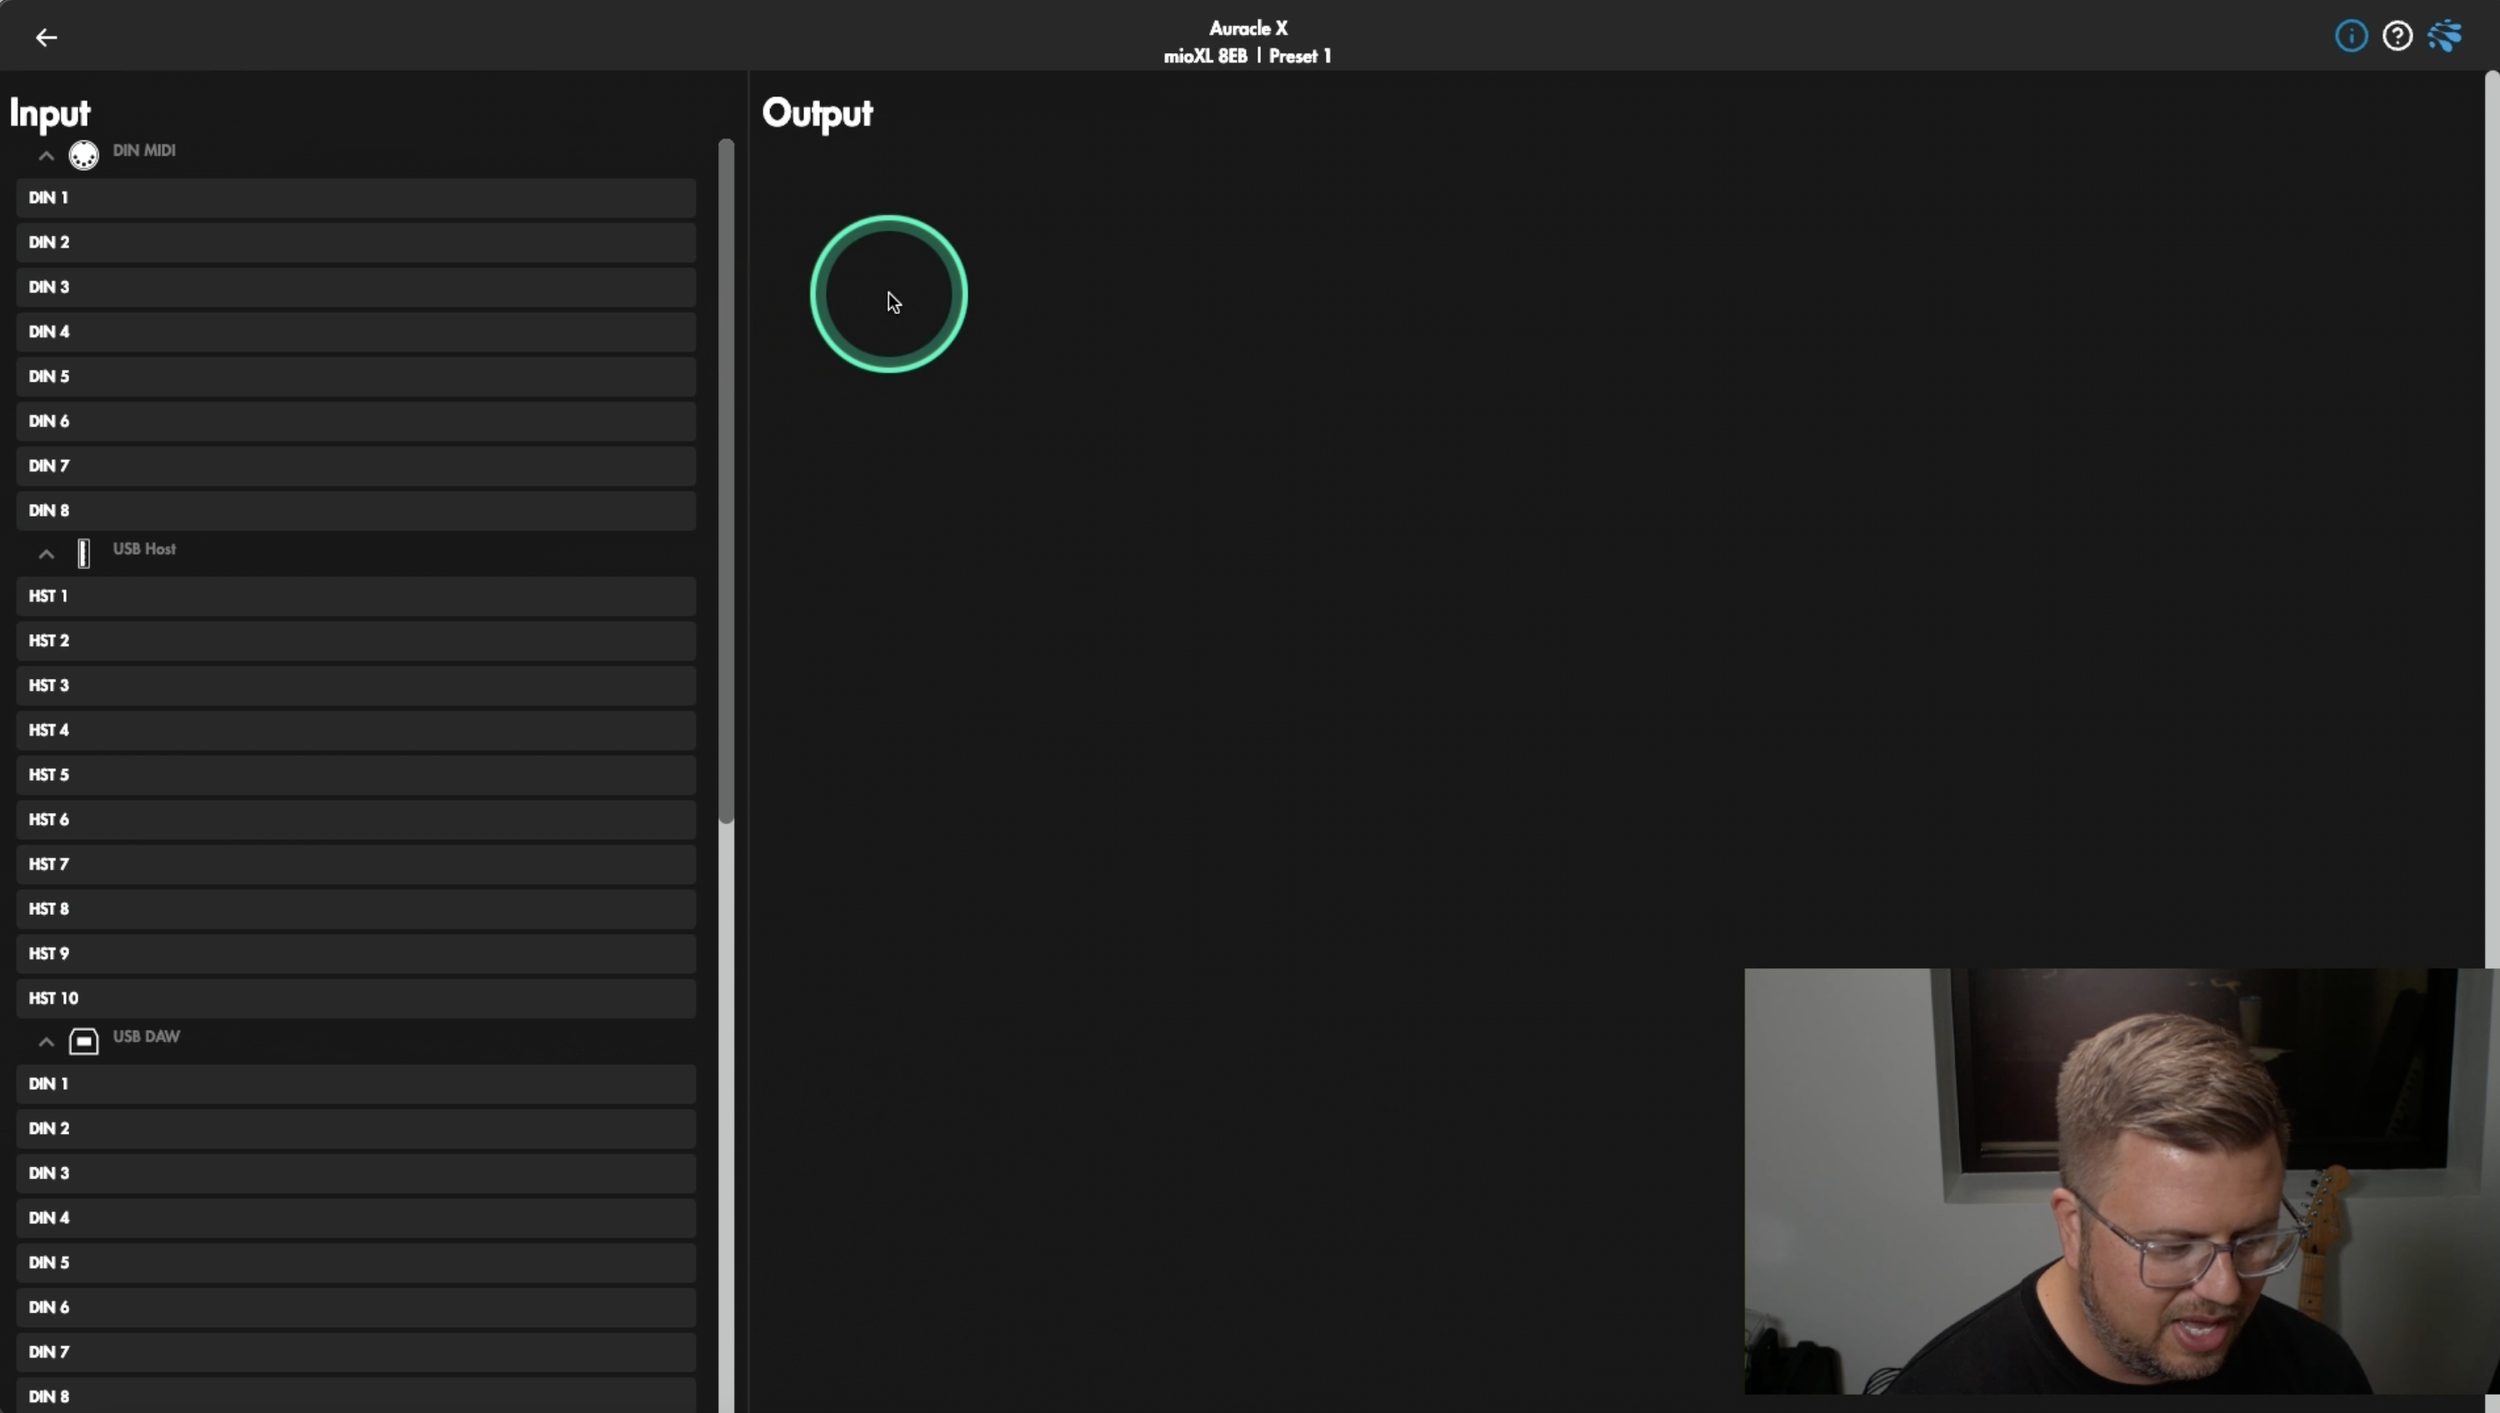
Understanding the layout within Auracle X is the first step to mastering MIDI routing. To put it simply, inputs are on the left-hand side, and outputs are on the right-hand side.
Inputs represent the physical connections on your interface, plus the connections from your DAW (under USB DAW).
Exploring the Interface
Start by exploring the MIDI routing interface for each of your iConnectivity devices to familiarize yourself with available inputs and outputs. For example, the mioXL offers 8 DIN MIDI inputs, 10 USB Host inputs, USB DAW inputs, and RTP MIDI ports for networked connections.
Just as a reminder, If you’re using a device like a mioXM or a PlayAUDIO1U where you don’t have all the physical USB Host connections on your device that you see represented in your MIDI routing, you’ll have to use a powered USB hub to make a USB Host Port reservation in Auracle X.
Combined with your DAW of choice (i.g. Ableton Live), Auracle X bridges the physical and digital realms by integrating your MIDI hardware with your DAW. The USB DAW inputs and outputs displayed in Auracle X will directly correspond to MIDI connections listed in your DAW.
For instance, an input labeled “DIN7” in Auracle X will appear under Ableton’s MIDI routing as, you guessed it, “DIN7”, making it easy to assign MIDI signals to specific tracks.
Advanced MIDI Routing
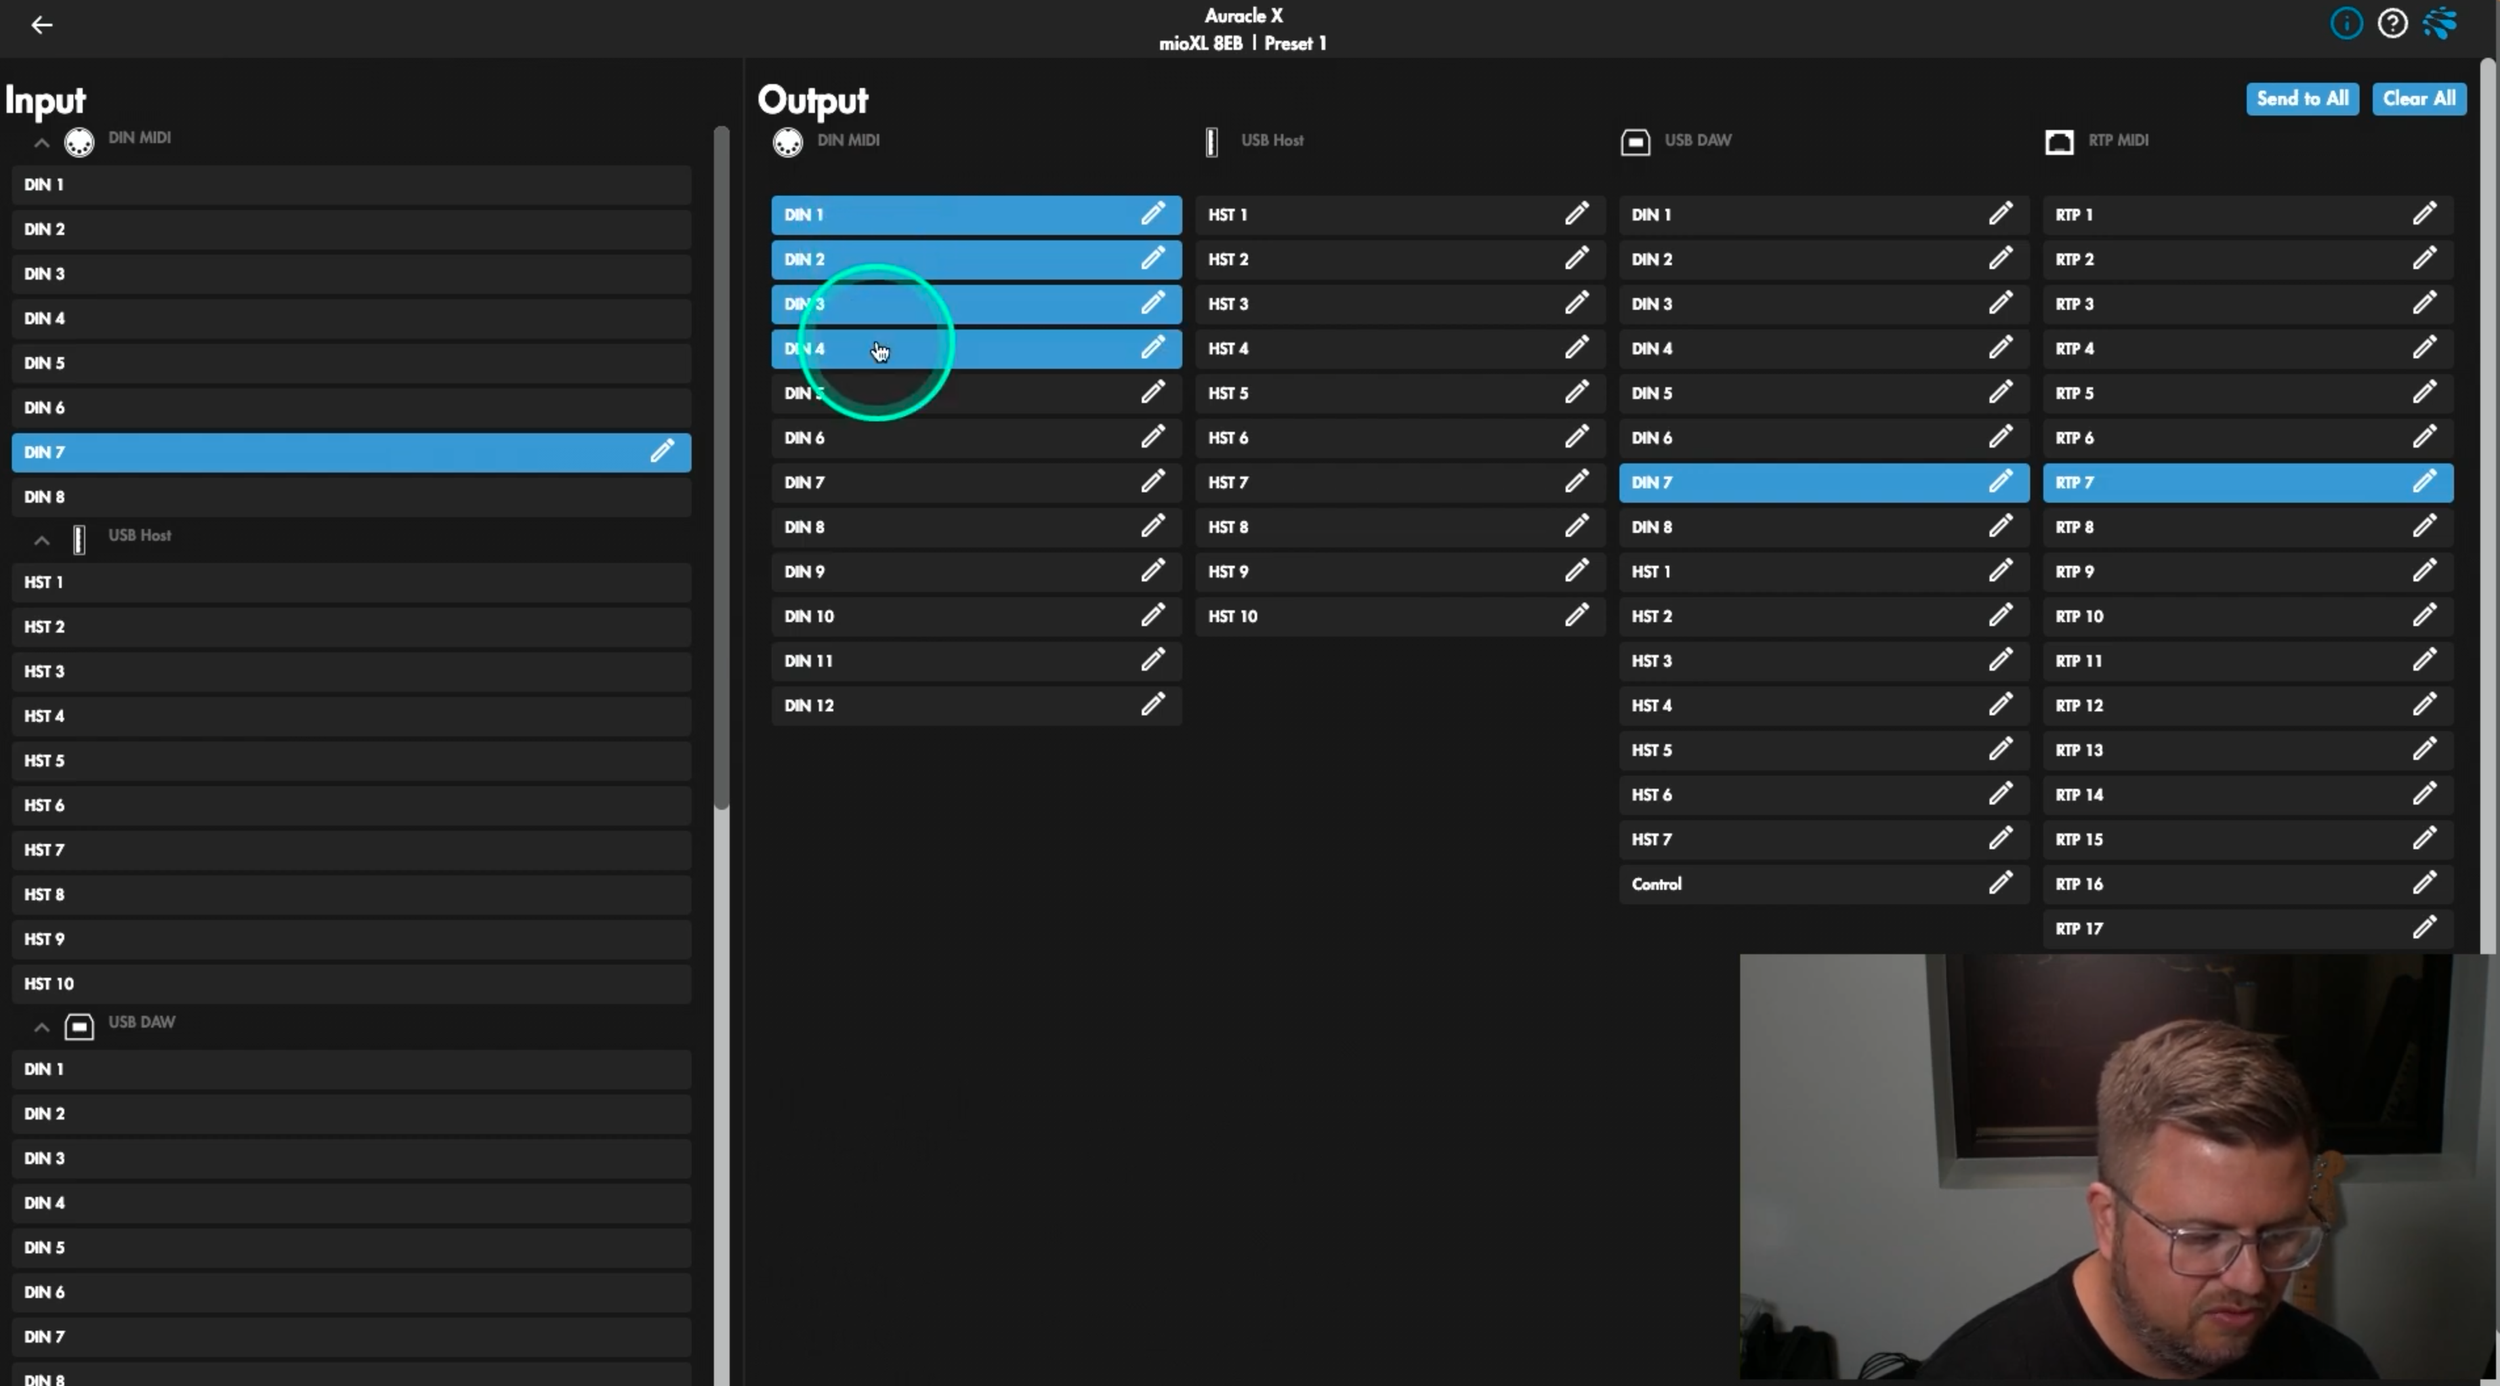
With Auracle X, you can route a single MIDI input to multiple outputs, transforming your device into a MIDI splitter. For instance, routing a MIDI controller connected to DIN7 to outputs DIN1 through DIN4 is as simple as selecting the input and assigning the desired outputs.
Using Send-to-All for Mass Routing
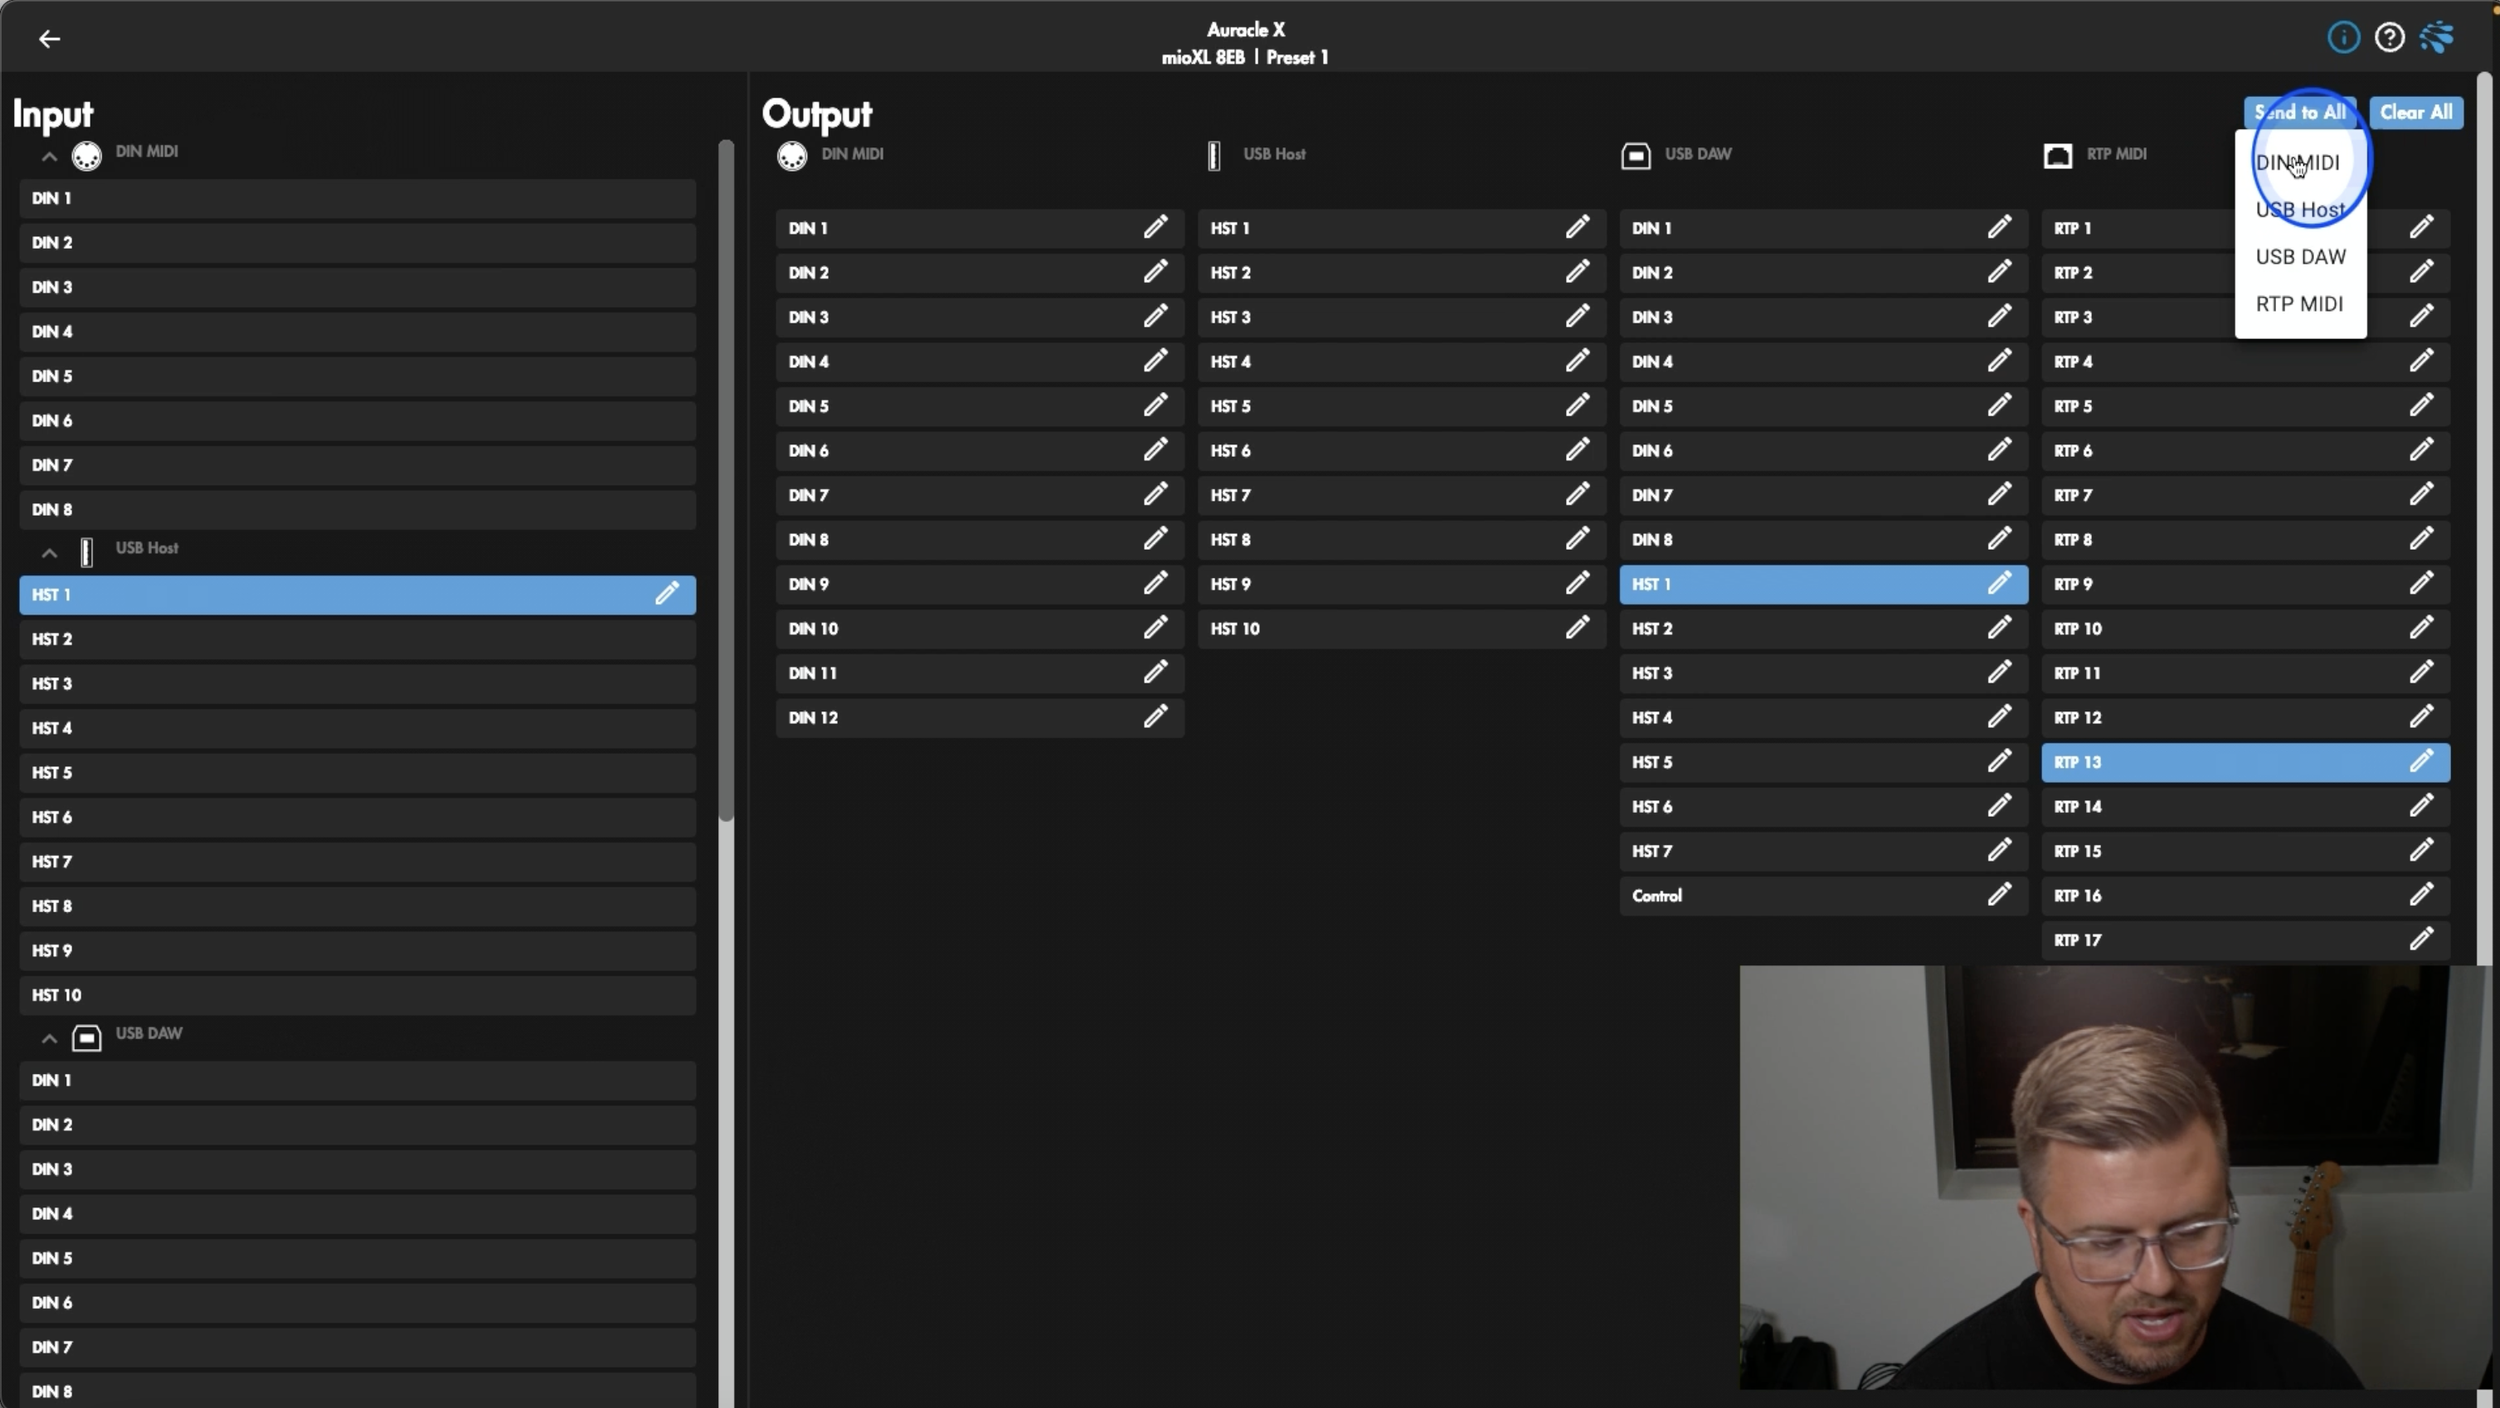
If you need to broadcast a signal to every output, the “Send to All” function provides a quick solution. For example, you can send a master MIDI controller’s signal to all DIN MIDI ports with a single click. If you change your mind, use the Clear All function to reset your routing.
Auracle X has a user-friendly interface which makes managing MIDI configurations easy, even in complex setups. With built-in options to clear or reset settings, you can quickly start fresh when adding new gear or fixing issues. Taking advantage of all the incredible features of Auracle X will expand your routing capabilities far beyond the physical ports available on your iConnectivity devices, enabling seamless communication with devices across several locations!
If you haven’t already, download Auracle for X-Series for free here.
Dive Deeper with Our Resources
If you have any questions not covered in this video, feel free to reach out to our help center, explore our previous articles, or check out our knowledge base for answers! Stay tuned for next week’s tutorial featuring all my Pro Tips on Auracle X!


