Easily Set Up Your USB MIDI Controller with PlayAUDIO1U
In today’s rapidly evolving music scene, delivering perfect live and studio performances requires more than just talent—it’s all about the gear. The right tech can make a huge difference in ensuring everything runs smoothly, especially when it comes to using MIDI controllers and DAWs. Combining a MIDI controller and DAW with the PlayAUDIO1U ensures playback redundancy so your music stays on track, even when things get tough. In this article, we'll guide you through setting up your USB MIDI controller with your PlayAUDIO1U and share a few worthwhile tips along the way.
Connecting Your MIDI Controller
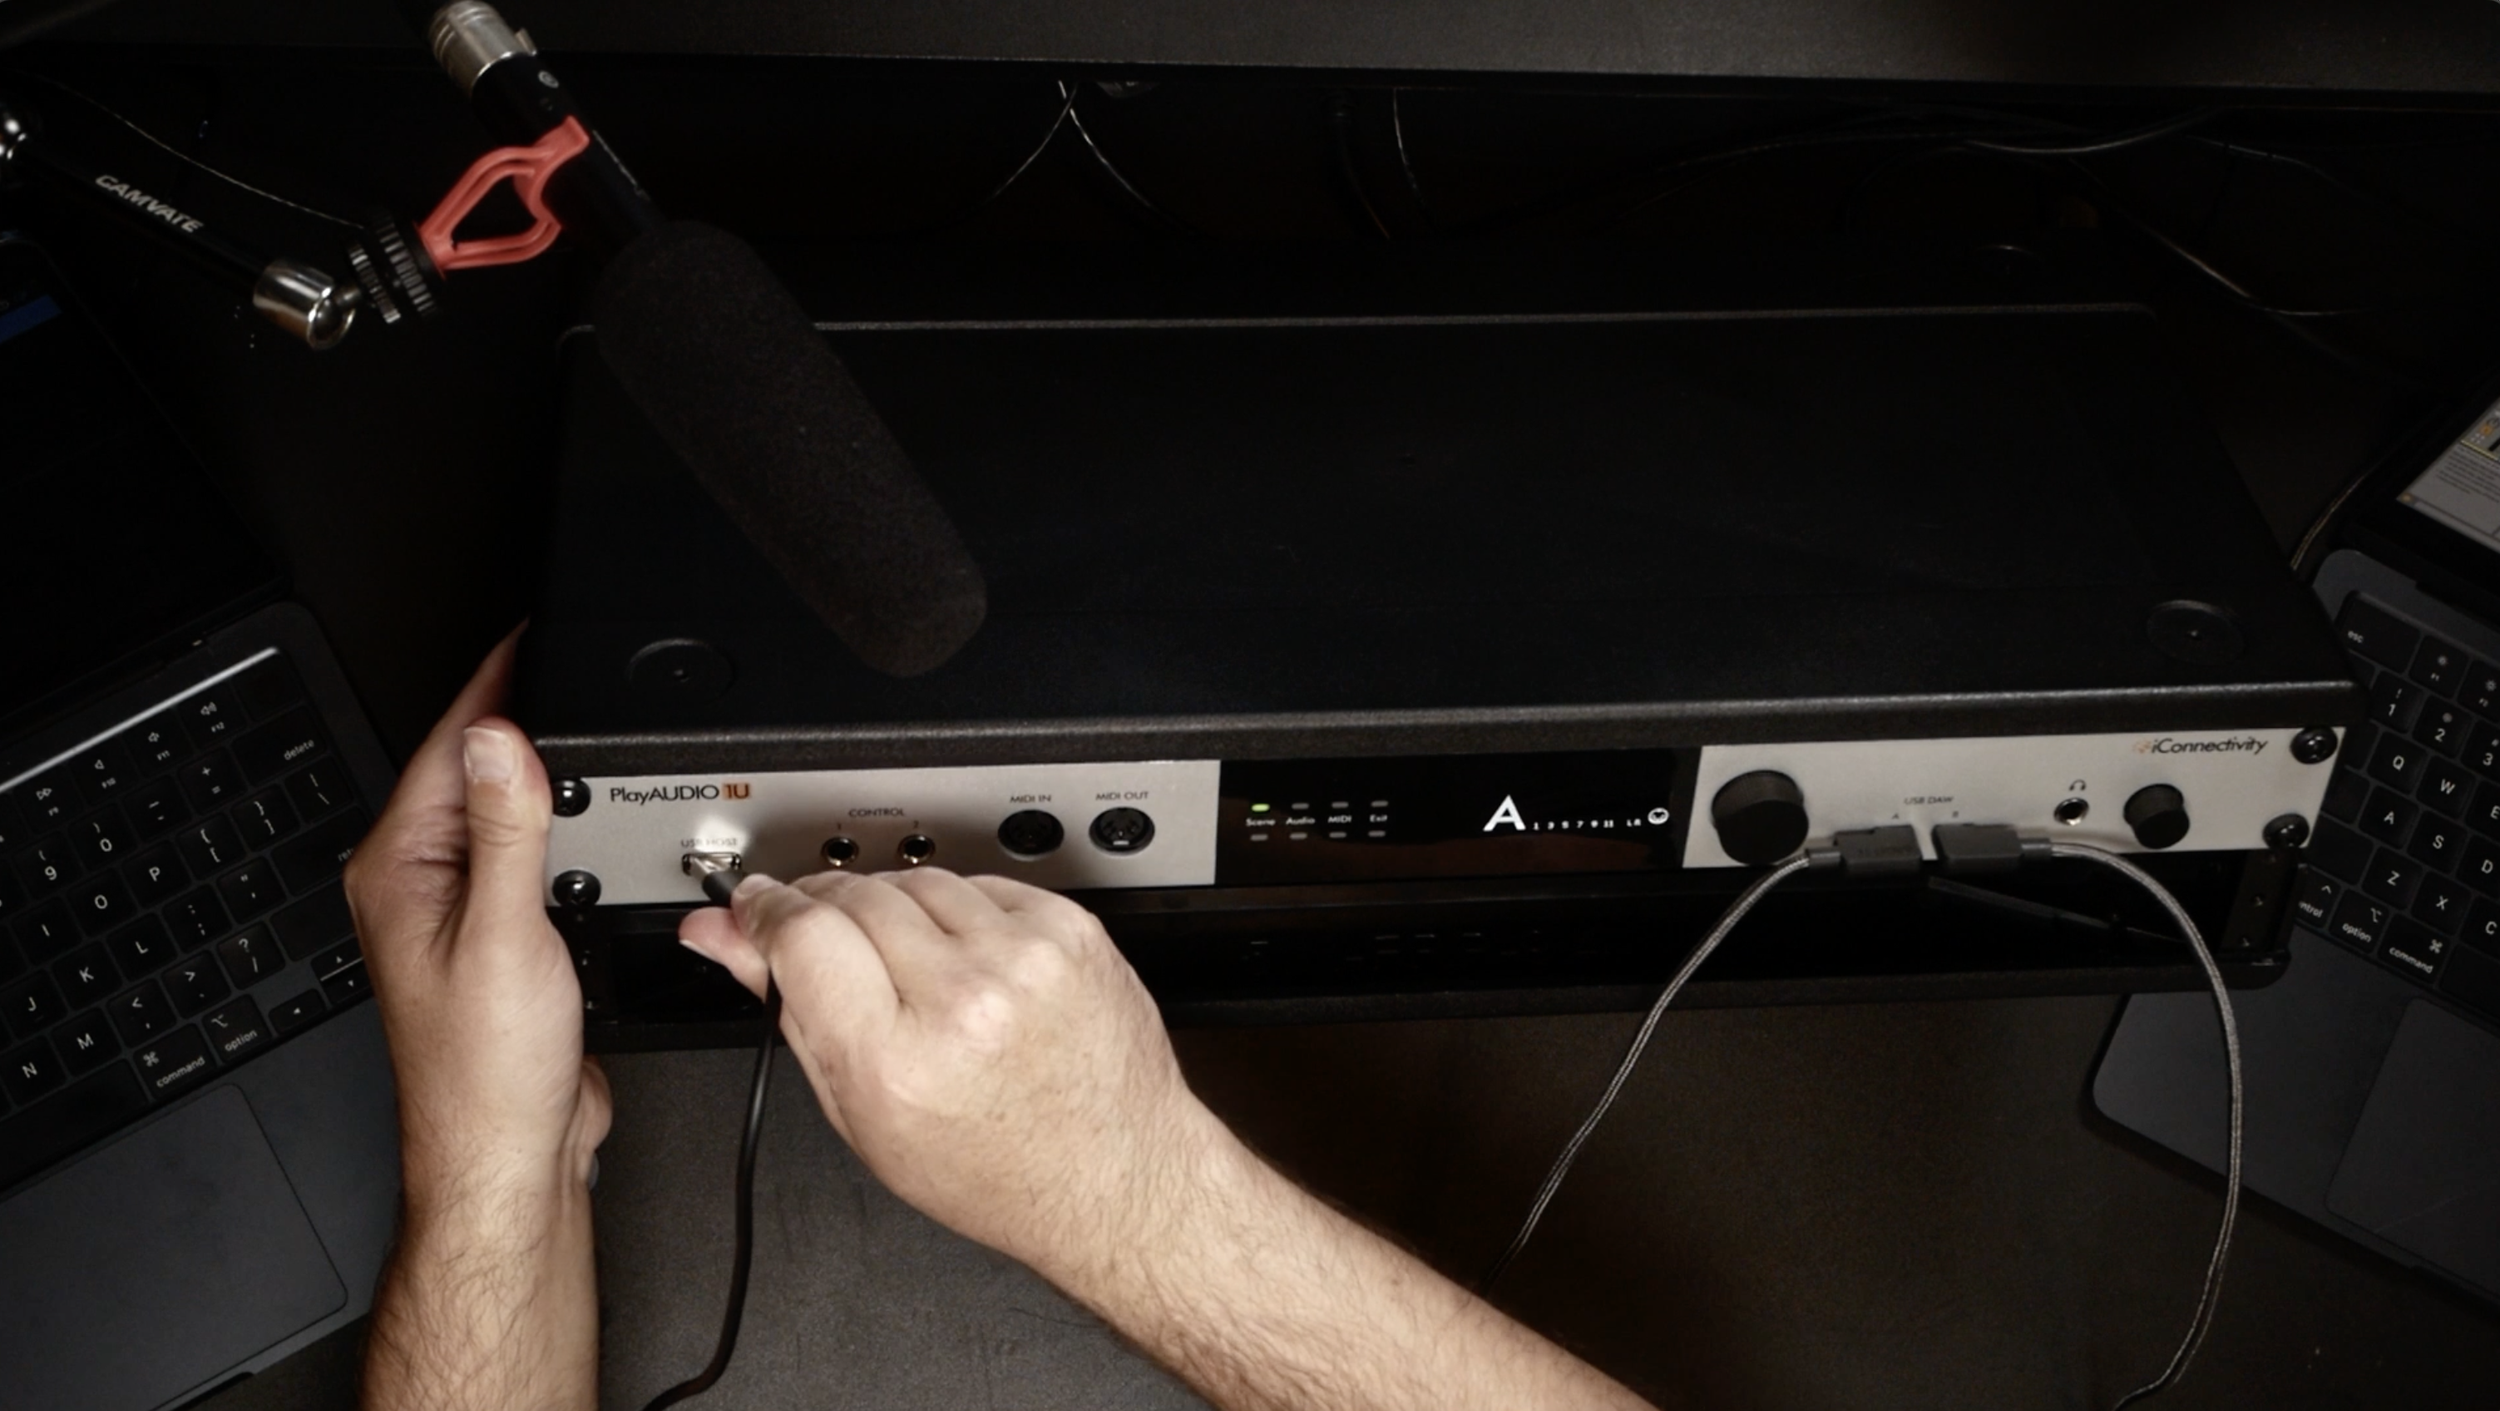
To start, connect your USB MIDI controller to the USB HOST port on the PlayAUDIO1U.
This not only links your controller to your interface but also powers the device. With this setup, you can split signals to both computers in a redundant system.
Setting Up USB Host Ports with Auracle for X-Series
If you haven't already, be sure to download Auracle for X-Series, iConnectivity’s free control software. Open Auracle and navigate to the "USB Host Reservation" tab. The PlayAUDIO1U allows up to eight USB MIDI controllers.
Assign each device to a specific host port to ensure consistent MIDI signal routing, even after unplugging your MIDI controller or restarting your computer and interface. Think of the Port Reservation as an eight-lane highway—each lane dedicated to a specific device. Assign your MIDI controller to Host 1 to secure its lane and ensure reliable communication with the interface.
DAW Configuration for Redundant Playback Computer
Open your DAW (e.g., Ableton Live). Go to Preferences > Link, Tempo, MIDI.
The PlayAUDIO1U will be listed under MIDI Ports. Enable "Remote" for Host 1 to allow MIDI note reception.
Repeat the above steps for the second computer to mirror the configuration. This ensures both computers are ready to receive MIDI signals, enabling synchronized redundant playback.
Simple & Easy MIDI Mapping
Activate MIDI Map Mode in Ableton Live on both computers. Assign the Play button to your MIDI controller for each system, then do the same for the Stop button. Once that’s done, exit MIDI Map Mode and test your setup.
Test Your Setup
Hit Play on your MIDI controller to start playback on both computers at once. Press Stop to bring it to a halt, and watch both DAWs sync up perfectly. With this setup, you’ve got a rock-solid redundant playback system that keeps everything running smoothly, whether you're performing live or recording in the studio.
Flexibility and Reliability
Connecting a USB MIDI controller to the PlayAUDIO1U with Auracle for X-Series offers unbeatable flexibility and reliability. This guide will help you set up a solid, redundant playback system that ensures the music never stops.
Check out our blog page to dive deeper into more articles on optimizing your setup!
Have any questions we didn't cover in this article? Visit our help center for more support.


